ActiveNet Configuration
Create the calendar(s) you wish to display within the REACH Calendar application. If you plan to display multiple calendars, each calendar will need an integration.
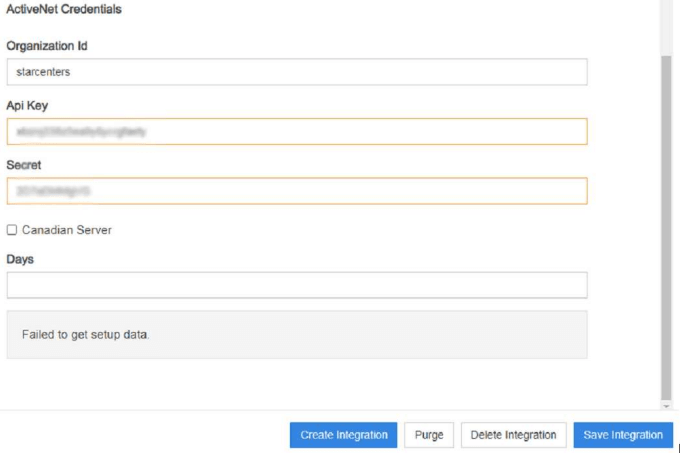
Within the Calendar application, click “Create Integration.” Give the integration a name (i.e:ActiveNet). Under Transport, select “Vendor Integration,” then choose “ACTIVENet” from the dropdown of vendors.

ActiveNet’s support team provides all three credentials, the Organization ID, API Key, and Secret. Insert those in the corresponding fields. If the facility is in Canada, please check the Canadian Server checkbox. Lastly, click “Save Integration.”
NOTE: If the Organization ID provided has _reach at the end, omit _reach when entering the ID into the integration.

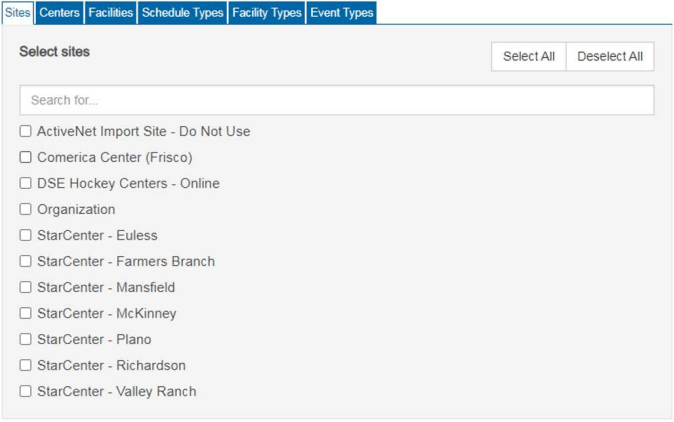
After clicking “Save,” you can select the appropriate options for the calendar. Connect with your REACH contact to configure each tab.
